Sonntag, 27. Oktober 2013

Bloody Spooky Fancy Dress Halloween is coming!

Hi folks,

those of you who know me are aware of my HUGE love for Halloween :)
Since three years I am celebreting Halloween every year with a couple of friends in the club house of my village. Today I would like to share two costume ideas and some Halloween decoration impressions with you.

Last year I went as Poison Ivy from Batman. For this costume you'll need:
  • long red wig
  • green tights and a green long-sleeved top
  • fake ivy leaves (green and red)
  • wide belt (glue two ivy leaves on it)
  • green plastic gloves (paint red fingernails on them)
  • funky fake lashes (and here you find an awesome poison ivy make-up tutorial)
  • optional: I was waring a dress with a green pattern on it over my top

Two years ago there was a big hype about the Black Swan costume. Here's my version of it :) For this costume you will need:
  • black corsage
  • black tutu or wide mini-skirt
  • black feathers (glue them on the tutu/skirt)
  • (fake) diadem
  • opional: red contace lenses
  • and here's a great "Black Swan" make-up tutorial by Michelle Phan.
 
My favourite Halloween decorations are - of course - Jack-O'Lanterns, graveyard lights, fake spider webs and creepy black&white pictures of people from the 19th century ;-) 

I hope you get some inspiration for a cool Halloween-decor with my pics.
 Sick pumpkin ;)

Creepy family tree: I have just printed out old pictures from the 19th century that I found in goggle pictures.

 Funny ideay for the dance floor: crime scene! I just used white gaffa tape for it.

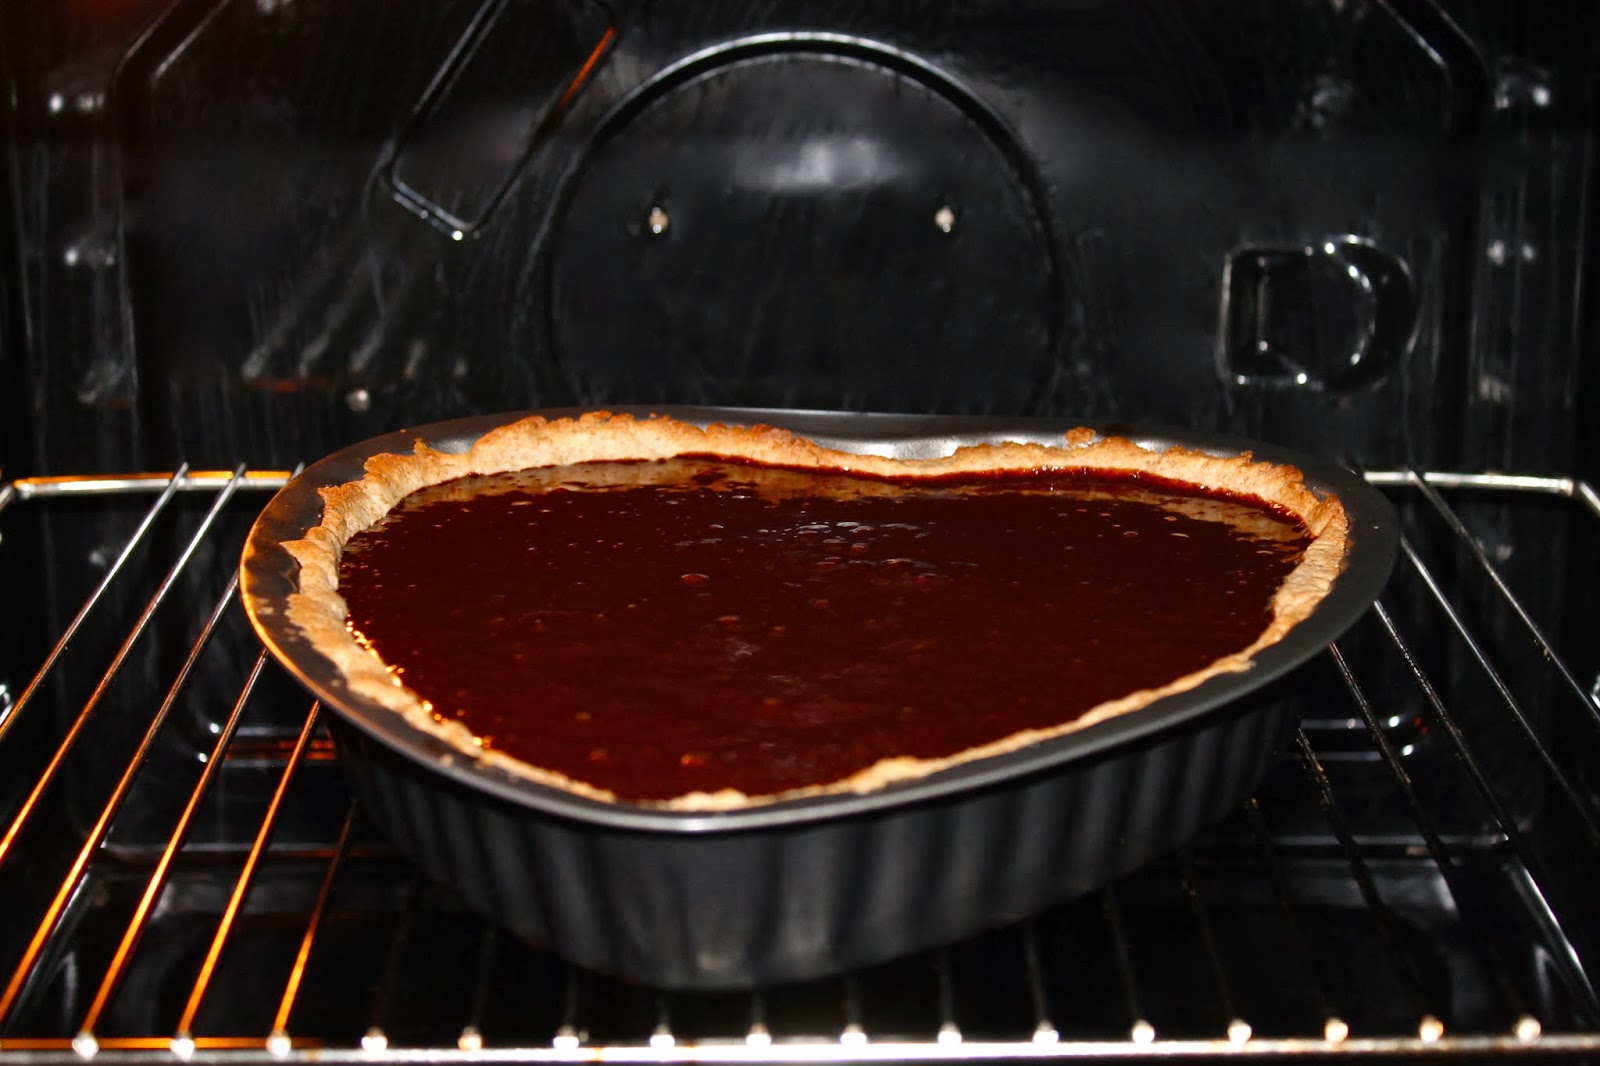
 Graveyard Halloween cake!!

I made an electric chair out of an old commode, some pieces of wire, two old leather belts and gaffa tape. I used a broom, a salad bowle and the framework of an old lamp for the "head-part" of the chair. People made some veeery funny pictures with that electric chair on the party! ;-)

Happy Halloween everybody and don't forget: EAT. DRINK. AND BE SCARY!

Moustache Wrapping Paper

Hi there,

remember the post about the photo props we used at my birthday party? Among these props was also a moustache and as I really like those things I wondered what else I could do with it. So I came up with the idea to use it as a stencil for some nice gift wrapping paper... :)

What you'll need:
  • brown or white packing paper
  • a moustache stencil (If you haven't one by hand as I did, there are lots of moustache pictures on the internet that you can simply print out on thicker paper and then cut out.)
  • black permanent marker and/or black felt pen (I used a thin felt pen for the outlines of the moustaches and the marker to paint them in)
How it works:

Start by cutting the brown paper into your wished size (I made a sheet of 80x60cm). Then draw thin pencil lines in regular distances (in my case every 6cm) on the paper. Take your moustache stencil and draw the outlines in regular distances on the paper. Make sure that every moustache has the same distance to your pencil lines, so that you get straight lines of beards.


When your sheet of paper is full of moustaches you can start colouring them in. This will take you a while but look great in the end.


As soon as as you have coloured all your moustaches the only thing left to do is to rub out your pencil lines and to wrap your present. :)


Freitag, 25. Oktober 2013

It's all in the mix!

Hey guys,

my passion for black and white today met my liking for pattern- and material-mixing. In this case: stripes meet gingham and leather meets denim. And of course a pop of leo.


And I found this great and super easy idea for a bobby-pins-triangle as a fun hair-do on Pinterest!

Have a great weekend!


Mittwoch, 23. Oktober 2013

Super Tasty Chocolate Tart

Hi there,

today I wanna show you the recipe for the best chocolate tart in the world! Okay, that may be a little exaggerated but that cake is really, really good plus it's not very difficult to make which is another plus point. :)

What you'll need for the pastry base (short pastry):
  • 125g unsalted butter
  • 100g powdered sugar
  • 1 small pinch of salt
  • 250g whole-grain flour
  • 2 egg yolks
  • 2 tablespoons water
What you'll need for the filling:
  • 140g unsalted butter
  • 150g dark chocolate
  • 8 tablespoons cocoa powder
  • 1 small pinch of salt
  • 4 eggs
  • 200g sugar
  • 3 tablespoons maple syrup
  • 3 heaping tablespoons sour cream
How it works:

We start with the short pastry. Beat butter, sugar and salt until fluffy. Then add the egg yolks and the flour and mix it until you get a crumbly mixture. Now add the water and knead the mixture until you get a smooth ball of dough.


Put clingfilm over your dough and put it into the fridge for one hour to rest. Afterwards cut the dough into about 5mm thick pieces and cover the base and sides of your baking dish.


Now the dough needs another hour of rest, if possible in the freezer.
When the cake has rested for about half an hour we can start with the filling: Put the butter, the chocolate, the cocoa powder and the salt into a bowl and melt it over a pot with boiling water. Stir occasionally.

 
Put the eggs and the sugar into another bowl and beat until foamy. Then add the maple syrup and the sour cream and beat again.


 Stir the chocolate mixture with this mixture.


Before you can fill your pastry base it has to be pre-baked for 12 minutes at 180°C. Now spread the chocolate mixtures on the pastry base and bake the cake for 45 minutes at 150°C.


Leave the cake to cool for 45 minutex before you enjoy. Yummy!


Montag, 21. Oktober 2013

Golden autumn days


Hey folks,

this weekend the autumn foliage was just insane! I did a little walking tour with my mum to learn more about herbs (she is a good witch you have to know ;-)). She makes incredible teas and other goodies with wild herbs or herbs out of her garden. Check out her newest blog-entry about a selfmade herbs-oil (in German) -> http://nancy7sieben.blogspot.co.at/

I'm about to dry the herbs we found now and soon you'll find here a post about herbal goodnesses ;)

On our tour we found a man-made shelter that (probably kids?) must have built in summer. And  i picked some crazy dried thistle-flowers that will make an awesome halloween decoration.


Samstag, 19. Oktober 2013

Let's dance a little


Hello everybody,

recently I found this great sweater on Pinterest. I totally fell in love with this "vertical letters on top"-idea that I wanted to do something like that on my own. Therefore I decided to do an DANCE! top that I could wear in my weekly dance class and/or in dance-intensive nights... ;)

What you'll need:
  • computer, paper and printer
  • plastic foil
  • cutter & small scissors
  • white T-shirt (I chose a men's T-shirt)
  • textile colour
  • paintbrush

How it works:

First you'll have to decide on a lettering for your top and a nice font. I used "Populaire" (that's the same font we also use for our blog-headlines), size 800pt. That was basically one letter per page. Afterwards print out your lettering and fix the paper pages with the plastic foil. I used old clear film as plastic foil and paper clips to fix the pages.
Now make a small cut with your cutter along your letter and cut it out with your small scissors so you get a plastic stencil from the letter.


Do this with all of your letters.


Take your T-shirt and put some cardboard into it. This will prevent the colour from seeping through to the backside of your T-shirt. Arrange the letters on the shirt and start to paint in your stencils. I always coloured the edges of the letter first and then the inside.


 When your are done with colouring it should look something like this. :)


Let your letters dry and iron the T-shirt to fixate the colour. Don't iron the letters directly but put a towel or something similar between the T-shirt and your iron! Now you should be able to wash the T-shirt without problems and loss of colour (wash inside out at 30 degrees).


Done!


Mittwoch, 16. Oktober 2013

Rock your leggings

Hi there,

yesterday both of us came - without prior agreement - in our most stylish "rock" leggings to work. Even our shoes had nearly the same colour, so we were kind of dressed like twins :-)

We really liked this little coincidence and we couldn't resist to take some photos of it and share them with you.


 Lily (left) wears leather leggings: New Yorker | boots: Graceland | t-shirt: Esprit (similar) |
cardigan: New Yorker | earrings: Primark
Tulip (right) wears leggings: Printa | jumper: Minkpink | shoes: KMB

Montag, 14. Oktober 2013

Autumn sun

Yesterday we had like the most beautiful autumn day in Vienna! Therefore my bf and I decided to drive out to the "Steinhofgründe", a beautiful recreational area on the outskirts of the city. Originally the Steinhofgründe had been part of a hospital. In the late 1970s the area should have become a building ground but a referendum showed that the majority of the Viennese were against it. Therefore municipality took over the Steinhofgründe and has maintained it since then. Nowadays the Viennese use the area for walks, picnics, to fly a kite in the autumn and to sled in winter.


coat: Lykke (from Denmark) | T-Shirt: H&M | skirt: Doreen | red belt: Accessorize | shoes: KMB | hat: Nagy Hüte |  sun glasses: Marc O'Polo | scarf: vintage | black belt: vintage | backpack: Fjällräven
Related Posts Plugin for WordPress, Blogger...